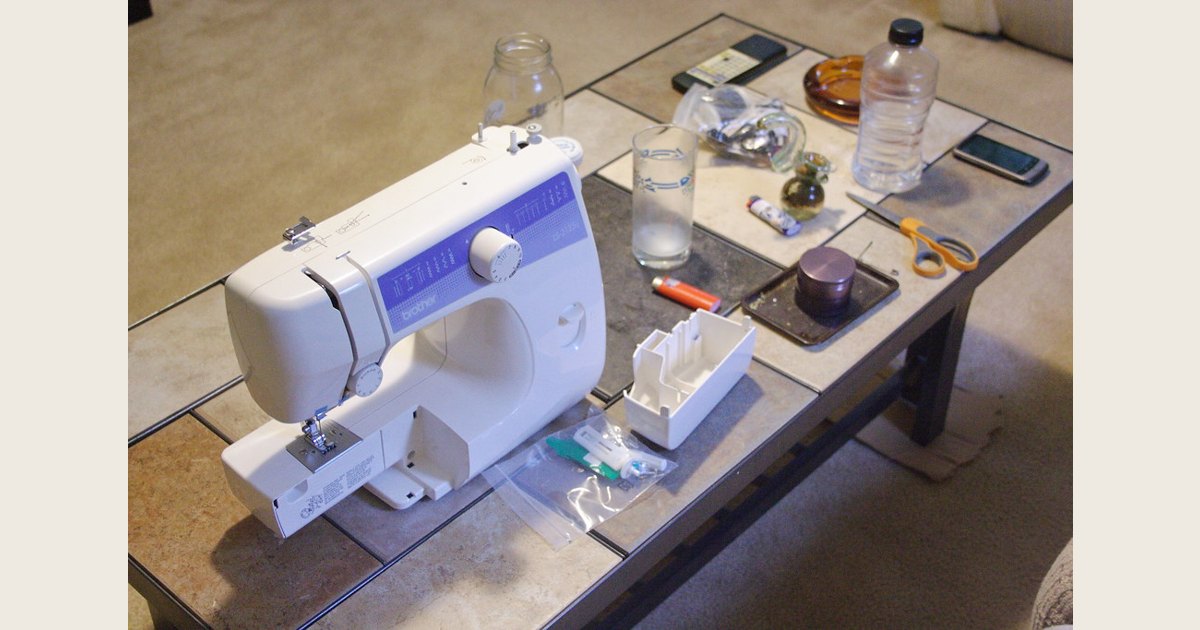
A standard domestic sewing machine makes a lockstitch with two threads. The needle carries the upper thread down through the fabric. As the needle starts back up, a hook catches a small loop of that upper thread and carries it around the bobbin thread below. The two threads interlock inside the fabric, and the take-up lever removes slack to tighten the stitch. Meanwhile, the presser foot holds the fabric in place while the feed dogs move it forward for the next stitch.
Key Takeaways
- A lockstitch joins upper thread from the needle with lower thread from the bobbin.
- The needle, hook, bobbin, take-up lever, tension system, presser foot, and feed dogs have to work in a timed sequence.
- Balanced tension helps the threads meet within the fabric rather than leaving visible loops on one side.
- For a problem stitch, check the needle and complete threading path before changing tension settings or forcing the machine.
The stitch cycle, one stitch at a time
The motor or handwheel coordinates many moving parts, but the basic stitch cycle is easier to understand when separated into steps.
-
The upper thread follows its path. Thread comes from the spool and passes through guides, the upper-tension system, the take-up lever, and the needle. Each guide helps place the thread where the mechanism expects it to be. For one model-specific example, Janome’s Instruction Manual for Model 2212 directs the user to raise the needle and presser foot, then route thread through the guides, tension area, take-up lever, lower guides, and needle. Follow the order in the manual for your own machine.
-
The needle penetrates the fabric. The needle brings the upper thread below the needle plate. This is why a needle that is bent, dull, incorrectly inserted, or unsuitable for the material can affect the stitch.
-
A loop forms as the needle rises. The thread does not immediately follow the rising needle exactly. A small loop forms behind the needle near the bobbin area.
-
The hook or shuttle catches the loop. In many modern machines, a rotating hook catches the upper-thread loop. Older and other designs use a shuttle mechanism. The mechanism draws the loop around the bobbin-thread supply, creating the interlock.
-
The take-up lever seats the stitch. As the needle completes its rise, the take-up lever pulls back extra upper thread. This tightens the completed lockstitch rather than leaving a loose loop.
-
The fabric advances. With the needle out of the fabric, feed dogs move the fabric by the selected stitch length. The presser foot supplies the downward pressure that lets the feed dogs grip the fabric.
The two-thread relationship behind this sequence is longstanding. In the 1846 patent Improvement in sewing-machines, Elias Howe described a needle thread forming a loop and a shuttle carrying bobbin thread through that loop before the threads were drawn tight. Domestic machines now use different shapes, drives, and controls, but that needle-thread and lower-thread interlock is the essential idea.
A useful correction to a common mental picture: the needle does not pull bobbin thread through the fabric. It carries the upper thread down. The hook or shuttle creates the connection with the lower thread below the needle plate.
What each major part does
Machine layouts differ. A model may use a top-loading bobbin, a front-loading bobbin case, a rotary hook, or a shuttle-style arrangement. Still, the following parts have closely related jobs in a domestic lockstitch machine.
| Part | Primary job | What to keep in mind |
|---|---|---|
| Needle | Carries upper thread through the fabric | Needle type, size, orientation, and full insertion affect stitch formation. |
| Spool and upper-thread path | Delivers upper thread to the needle | The thread needs to pass through the specific guides and take-up lever for the machine. |
| Upper-tension system | Applies controlled resistance to upper thread | Its setting works with the bobbin-side tension, not independently of it. |
| Take-up lever | Gives out thread during the cycle and then removes slack | If the thread misses this lever, stitching can fail even when the needle is threaded. |
| Hook or shuttle | Catches the upper-thread loop | It is the part that lets the upper thread interlock with bobbin thread. |
| Bobbin and bobbin case | Supply lower thread | Use the bobbin class, winding method, and insertion direction specified for the model. |
| Presser foot | Holds the fabric against the machine bed | Lower it before sewing so the fabric can feed consistently. |
| Feed dogs | Move fabric between stitches | Guide the fabric gently instead of pulling it through from behind. |
The needle plate and presser foot also form a controlled workspace around the needle. The plate supports the fabric, while the foot keeps it in contact with the feed dogs. Pulling hard on fabric can bend a needle, distort a seam, or interfere with the machine’s timing. Let the machine feed the fabric and use your hands mainly to steer it.
Tension is a balance, not a single setting
Thread tension is the resistance that controls how readily each thread is pulled into the finished stitch. A balanced lockstitch generally places the interlock within the fabric layers. If upper or lower thread is pulled too far to one side, loops can show on the surface instead.
That does not mean every loose stitch is a tension-dial problem. Threading errors, an unsuitable needle, an incorrectly seated bobbin, damaged thread, fabric thickness, and stitch selection can all change the result. Start by checking the basics rather than turning a setting repeatedly.
| What you see | Areas to inspect first | Avoid assuming |
|---|---|---|
| Large loops or a thread nest beneath the fabric | Complete upper-thread path, take-up lever, needle, and upper-tension engagement | That the bobbin is necessarily at fault |
| Loops visible on top of the fabric | Bobbin type, bobbin insertion, lower-thread path, and the complete upper-thread path | That one dial adjustment will solve every cause |
| Puckering or a seam that draws up | Needle and thread suitability, stitch length, fabric handling, and tension | That tighter thread always makes a stronger seam |
| Skipped stitches | Needle condition, needle type, full insertion, threading, and fabric choice | That cleaning alone will restore stitch formation |
| Fabric does not move | Presser foot position, feed-dog mode, stitch settings, and whether fabric is being pulled | That the motor should be forced to overcome resistance |
Use your model’s manual for the exact reset position of the tension control, bobbin path, and feed-dog controls. Manufacturers document those details by model. For example, Janome’s Instruction Manual for the Model 2212 gives specific directions for threading, bobbin installation, needle insertion, upper-tension adjustment, and ordinary versus drop-feed sewing. A sequence that is correct for one machine can be wrong for another.
What a regular sewing machine can and cannot do
A domestic sewing machine is useful when you need repeated, durable seams, hems, repairs, piecing, or other projects that involve many stitches. It gives you consistent stitch length and lets both hands guide the material rather than making every stitch by hand.
It is not automatically necessary for every textile task. A loose button, one short repair, a simple temporary hem, or a small hand-sewn seam may be more practical to do by hand. Buying a machine makes more sense when you expect to sew repeatedly or want its speed and control for ongoing projects, not because every fabric repair requires one.
Material and construction also set limits. Thick stacks, dense seams, leather, very delicate fabrics, and highly stretchy materials may call for a particular needle, thread, presser foot, stabilizer, or a machine designed for that workload. Do not assume a standard machine can handle a material merely because a needle can pass through it once. If the machine resists, the needle strikes a hard area, or the fabric will not feed, stop and consult the manual before continuing.
A serger is related but not interchangeable with a standard sewing machine. Sergers are designed to trim seam allowances and overcast fabric edges, as SINGER describes, while a domestic lockstitch machine builds a seam with a needle, hook, and bobbin. Our guide to what a serger sewing machine does explains when that different workflow may be useful.
Troubleshoot in a deliberate order
When a machine jams, skips, nests thread, or makes uneven stitches, changing several things at once makes the real cause harder to identify. Work through a short reset sequence and test on a scrap of the same fabric after each meaningful correction.
-
Stop sewing without forcing the handwheel or fabric. Remove your foot from the pedal. If thread is tangled around the needle or bobbin area, disconnect power before working near the needle.
-
Install a fresh, suitable needle. Confirm the needle system, type, size, orientation, and insertion method in the manual. A new needle is a useful reset because damage can be hard to see.
-
Remove and completely rethread the upper thread. Raise or lower the presser foot during threading only as the manual directs. Follow every guide and make sure the thread enters the take-up lever and needle correctly.
-
Remove and reinstall the bobbin. Confirm that it is the right bobbin style, wound evenly, positioned in the correct direction, and passed through the required guide or tension point.
-
Return adjustable settings to the manual’s recommended starting point. Then stitch slowly on a scrap. Inspect both sides of the seam before making a small, documented adjustment.
-
Check fabric feeding. Lower the presser foot, make sure the feed dogs are in their normal sewing position if your machine has a drop-feed feature, and guide rather than pull the material.
-
Clean only as the manual permits. Lint near the bobbin area can interfere with smooth operation, but do not disassemble or oil parts that the manual does not identify as user-serviceable.
-
Escalate a persistent jam. Repeated needle strikes, unusual noise, a hook that will not rotate freely, or a problem that remains after correct threading and bobbin installation may need qualified service. For a symptom-focused next step, see why a sewing machine keeps jamming.
Frequently asked questions
Does the needle carry both threads through the fabric?
No. The needle carries the upper thread. The bobbin supplies lower thread below the needle plate, and the hook or shuttle links the two threads into a lockstitch.
Why do I need both a presser foot and feed dogs?
Feed dogs provide the motion that advances fabric. The presser foot holds the fabric against them so they can move it a controlled distance between needle cycles. Without adequate foot pressure or normal feed-dog engagement, fabric may not advance as intended.
Can I use a sewing machine for every fabric repair?
No. A machine can be unnecessary for a small repair, and some materials require equipment or techniques beyond a standard domestic machine. Consider the number of stitches, the fabric, the seam location, and whether hand sewing would meet the need more simply.
A sewing machine turns coordinated motion into a seam
A sewing machine is not simply pushing a threaded needle through cloth. It coordinates two threads, controlled tension, a loop-catching mechanism, and fabric movement thousands of small actions at a time. Once you understand that sequence, basic setup makes more sense: thread the full path, install the correct needle and bobbin, lower the presser foot, let the feed dogs do their job, and change one variable at a time when something goes wrong.
Photo: sewing machine by eggrole; CC BY 2.0. Resized and padded. Illustrative stock photo; no product testing is implied.