If your machine keeps jamming and you see a nest of thread under the fabric, check the upper thread before you blame the bobbin. Brother and SINGER both attribute looping underneath the fabric to the upper threading. When the top thread isn’t fully seated in the tension discs, nothing holds it back as the needle goes down, so the excess loops into the bobbin case and locks the machine. As Brother’s support page puts it: “If the upper thread is incorrectly threaded, the upper thread passed through the fabric cannot be firmly pulled up” (Brother Support, retrieved September 14, 2026).
The fix costs nothing: pull the top thread out completely and rethread it with the presser foot raised. Raising the foot opens the tension discs so the thread can drop between them (Janome, retrieved September 14, 2026). Threading with the foot down feels identical but leaves the thread lying outside the discs.
Key Takeaways
- A “bobbin nest” underneath the fabric usually starts on top. Rethread the upper thread from scratch with the presser foot up so the thread seats in the tension discs.
- Raise the needle to its highest point before threading; if the take-up lever is low, the thread can’t wrap it and the machine can’t be threaded correctly.
- Check that the bobbin unwinds the right direction and passes through both notches in the bobbin case, and that it is the bobbin class your machine actually takes.
- Unplug the machine before removing the needle plate to clear lint or trapped thread from the hook race.
- Persistent skipped stitches, or a machine that won’t pick up the bobbin thread after all of the above, points to timing, which is a technician’s job.
Start here: the two-minute reset
Before diagnosing anything, run this sequence. It is the clearing-and-rethreading routine Brother gives for tangled thread, and it rules out the causes the manufacturers list first.
- Stop sewing and power off. Don’t force the handwheel against a jam.
- Remove the bobbin cover and pull out the tangled thread. Snip it if it won’t come free (Brother).
- Take the upper thread completely off the machine. Don’t cut it at the needle and pull it back through the guides.
- Turn the handwheel toward you until the needle is at its highest point.
- Raise the presser foot, then rethread the top from spool to needle eye, following your manual’s path.
- Remove and reseat the bobbin.
- Draw about 2 inches of both threads back under the presser foot before you start (Brother).
If the jam returns, work through the causes below in order. That order is ours, not one the manufacturers share: it starts with what Brother and SINGER list first for thread nests and leaves the mechanical causes for last. Janome puts cleaning earlier, so jump to cause 7 if your machine is overdue for a clean.
The nine causes, in diagnostic order
1. The upper thread isn’t in the tension discs
Symptom: Loose loops or a dense nest on the underside; the top stitch looks fine or lies flat.
After the reset above, confirm the thread is fully seated in the take-up lever and that no upper guide was skipped (Janome). SINGER suggests a quick check: before threading the needle, tug the thread. If it pulls through with almost no resistance, it isn’t in the discs, so rethread (SINGER).
2. The needle and take-up lever were in the wrong position
Symptom: Jams right at the start of a seam, or the first few stitches nest immediately.
The take-up lever has to be at the top so the thread can wrap around it. Brother’s instructions are explicit that if the needle is not correctly raised, the machine cannot be threaded, and the thread should pass through the take-up lever right to left, then through the needle eye front to back. The same page notes that the spool pin must be fully extended, because a badly seated spool can tangle the thread and even break the needle (Brother). Brother’s jamming FAQ adds a related detail many people skip: use the spool cap sized to the thread spool you’re actually using (Brother, retrieved September 14, 2026).
3. The bobbin is seated wrong
Symptom: Looping on the top of the fabric.
Verify the bobbin thread unwinds in the direction your manual shows, and that you’ve drawn it through both notches in the bobbin case (Janome). Brother lists an improperly installed bobbin in the shuttle race as a distinct cause of jamming (Brother). Also check that the bobbin winder spindle is pushed back to the sewing position, since a machine left in winding mode won’t pick up the bobbin thread (SINGER).
4. It’s the wrong bobbin
Symptom: Intermittent jams that never fully resolve, often after buying a bargain multipack.
Bobbin classes look nearly identical but are not interchangeable. SINGER warns that Class 66, 15, and 15J bobbins resemble each other and “using the wrong type can damage your machine” (SINGER). Janome tells owners to use only Janome plastic bobbins, with an exception for MB-4, MB7, and 1600P models, which take an industrial-style metal bobbin (Janome). Check your manual rather than assuming.
5. The needle is bent, dull, or inserted wrong
Symptom: A popping sound as you sew, shredded thread, snags, or skipped stitches that precede the jam.
A dull or bent needle causes problems on its own (Janome). SINGER describes a popping sound as a strong sign the needle is bent or damaged, and says to replace it after two or three garments or after hitting a pin (SINGER, retrieved September 14, 2026). Its stated replacement interval varies between its own pages: the needle guide says every 8 to 10 hours of stitching, the general FAQ every 6 to 8 hours of use (SINGER, retrieved September 14, 2026). Treat it as a rough range. On most home machines the flat side of the needle faces the back; push it fully into the clamp and tighten the screw (SINGER). Some vintage machines differ, so confirm in your manual.
6. Needle, thread, and fabric don’t match
Symptom: Jams only on certain projects, such as denim, knits, or lightweight synthetics.
Brother lists a mismatched needle-thread-fabric combination as a cause of jamming, giving denim with a size 16 needle and 40–50 heavy-duty thread as its example (Brother). SINGER’s chart runs from 9/70 or 11/80 for sheer wovens to 14/90 for medium wovens like broadcloth and flannel, 16/100 for denim and canvas, and ball point 10/70 to 14/90 for knits; a regular point on knits causes “skipped stitches and fabric damage” (SINGER). Thread matters too: shredding usually means the needle is too small for the thread, and SINGER notes that routine use of heavy-duty thread “may cause tension issues” (SINGER).
7. Lint or thread is trapped in the hook race
Symptom: Gradual decline in stitch quality, then recurring jams even after correct threading.
Brother states that dust building up in the bobbin case degrades sewing performance, and Janome’s first hands-on step is to clean the bobbin area and feed dogs (Brother, Janome). Cleaning instructions follow below.
8. The tension is off baseline
Symptom: Puckering or loops that persist after correct rethreading.
Brother lists tension that is too tight or too loose as a jamming cause, with the fix being to return to the basic tension setting (Brother). Leave the bobbin case screw alone unless nothing else works: SINGER describes bobbin tension as “typically pre-set” and says any adjustment should be made only “in small increments” (SINGER).
9. Handling habits
Symptom: Jams that cluster at the start of seams or on thick layers.
Sewing with the presser foot raised “may lead to thread tangles and bobbin jams,” and the handwheel should always turn toward you, because turning it the other way “can disrupt your machine’s timing, requiring a visit to a service center” (SINGER). Don’t push or pull the fabric either; let the feed dogs draw it along, since forcing it can deflect and snap the needle (SINGER).
Quick symptom table
| What you see | Most likely cause | First thing to try |
|---|---|---|
| Nest of thread under the fabric | Upper thread out of the tension discs | Rethread top with presser foot up |
| Loops on top of the fabric | Bobbin inserted wrong | Reseat bobbin; check unwind direction and both notches |
| Rattle, then sewing stops | Thread tangled in the bobbin case | Power off, clear the jam, rethread |
| Popping sound, shredded thread | Bent needle, or needle too small for the thread | New needle in the right size |
| Skipped stitches on knits | Wrong needle point | Ball point needle |
| Machine won’t pick up bobbin thread | Winder spindle, threading, or timing | Check spindle position, rethread; then a technician |
Cleaning the hook race safely
Unplug the machine first. Brother warns that otherwise “you may get an electric shock or be injured” (Brother).
Brother’s procedure for its CE-5500 is: switch off and disconnect the cord, remove the needle, remove the presser foot and holder, release and lift off the needle plate cover, draw the bobbin case straight out, and brush or vacuum dust from the race and the area around it. Two cautions matter: do not oil the bobbin case, and do not reuse a scratched bobbin case, because it can tangle the upper thread, break the needle, or degrade stitches. When you reinstall it, align the marks on the bobbin case and the race as your manual shows, and make sure the needle plate cover sits flush before sewing (Brother).
That sequence is written for one Brother family. Steps differ across brands and models, and Janome simply points owners to the cleaning directions at the back of their own manual (Janome). Use yours.
What you probably don’t need to buy
All three manufacturers list threading, bobbin seating, needle condition, and lint among their causes, and checking each one is free. Before spending anything:
- You don’t need a new machine. A machine that jams after a threading error is behaving normally.
- You don’t need special thread. All-purpose polyester suits most fabrics, and cotton is a common quilting choice (SINGER).
- You don’t need oil on most modern machines. If oiling isn’t covered in your manual, the machine is pre-lubricated and needs none (SINGER).
- You don’t need a tension overhaul. Return to the baseline setting first.
Two of those checks can end in a purchase: fresh needles in the correct size and type for what you sew, and bobbins in the class your manual specifies. Those are consumables rather than free fixes, but both cost far less than a service visit.
When to stop and call a technician
Some symptoms aren’t threading problems. SINGER attributes persistent skipped stitches after a needle change, and a machine that still won’t pick up the bobbin thread after correct threading, to a timing issue requiring service (SINGER). Janome’s guidance is the same in structure: if the checklist doesn’t resolve it, “the machine may need to be examined by an authorized Janome dealer” (Janome). Beyond breakdowns, SINGER suggests a technician tune-up every three to four years (SINGER).
The limits of any general guide
Manufacturer instructions are model-specific for a reason. Bobbin systems, threading paths, needle plate removal, cleaning intervals, and even needle orientation vary between machines, and the pages cited here were each written for particular models or brands. Treat this article as the diagnostic order to work through, and treat your own manual as the authority for the exact steps. If the manual is long gone, most manufacturers post PDFs by model number on their support sites.
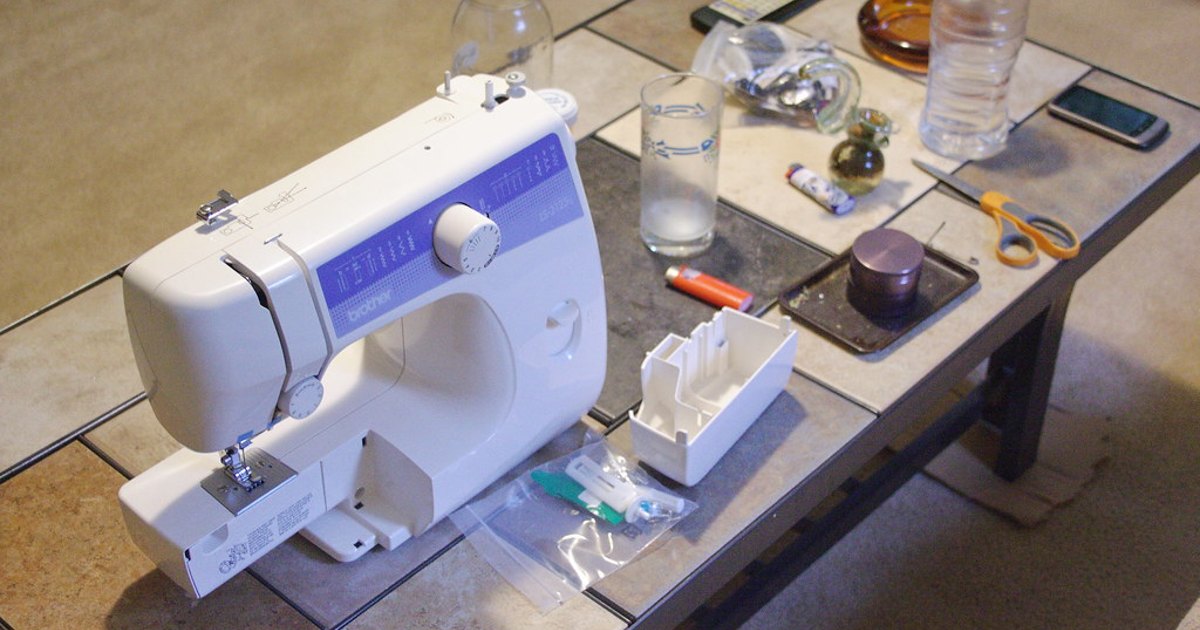
Photo: “sewing machine” by eggrole, source, CC BY 2.0. Resized and cropped. Illustrative stock photo; no product testing is implied.