A garden hose is easiest to store when it is empty, untwisted, and coiled in broad loops. After each use, turn off the water, let the hose drain, and put it on a hanger, reel, cart, or a clean shelf off the ground. Before freezing weather, disconnect and drain it completely, then keep it in a garage, shed, or other protected space.
Ever head out to water only to find a heavy, tangled hose? This routine takes only a few minutes and lets you start with an orderly hose. The winter step matters most: Ready.gov advises households to turn off and drain outdoor spigots, disconnect and drain garden hoses, and store the hoses in a garage or shed when cold weather is a concern (Ready.gov).
Key takeaways
- Drain the hose before coiling it, even when you are putting it away only overnight.
- Make large, relaxed loops rather than tight circles or figure eights with twists in them.
- Use a hanger, reel, cart, or shelf that keeps the hose from sitting in puddles, soil, or a walkway.
- Before a freeze, disconnect the hose and treat the outdoor faucet as a separate winterizing task.
- Unwind a kink before storing the hose; do not pull a tight coil hard to make it lie flat.
Cover image credit: Photo: Garden Hose by Skakerman (Archive), https://www.flickr.com/photos/27482959@N08/3555980548; https://creativecommons.org/licenses/by/2.0/. Resized and padded. Illustrative stock photo; no product testing is implied.
What to do before you put the hose away
You do not need a special storage system to care for a hose. Start with enough open ground or driveway space to lay out part of the hose, and have a place ready to put it once it is coiled. A wall-mounted hanger, an empty hose reel, a hose cart, or a sturdy shelf all work. For a short hose, a loose coil on a clean, dry shelf can be enough.
Before you begin, check for these problems:
- A nozzle, sprinkler, or wand still attached to the free end
- A twist that has turned into a hard kink
- Mud, plant debris, or standing water around the hose
- A leaking fitting, split outer cover, or crushed section
Remove attachments if they make the hose awkward to drain or coil. If the hose has been dragged through mud, rinse the outside and let it dry enough that you are not bringing a mess into storage. This is also a good time to look closely at the couplings and washers. A hose that is already leaking should be repaired before the next watering job, not hidden on a reel until spring.
How to store a garden hose step by step
1. Shut off the water and release pressure
Turn off the outdoor faucet first. Then open the nozzle or attachment at the other end until the steady flow stops. This relieves pressure and gives the water inside the hose a way out.
If you use a spray nozzle with several settings, switch it to an open setting rather than leaving it closed. A closed nozzle can keep water trapped while you carry the hose to storage. Once the flow slows to a trickle, remove the nozzle if you want to drain the hose more thoroughly.
2. Disconnect the hose and drain its length
Unscrew the hose from the faucet. Hold the faucet end downward, then walk along the hose toward the other end, lifting one section at a time so water can run out. On level ground, stretching the hose fairly straight before you lift it makes this easier.
There is no need to force every drop out with a sharp bend or by slamming the hose against the ground. The goal is to remove the water that would otherwise stay pooled in low spots. For seasonal storage in an area that may freeze, keep draining until water is no longer running from the end. Ready.gov specifically includes disconnecting and draining garden hoses in its cold-weather preparation advice (Ready.gov).
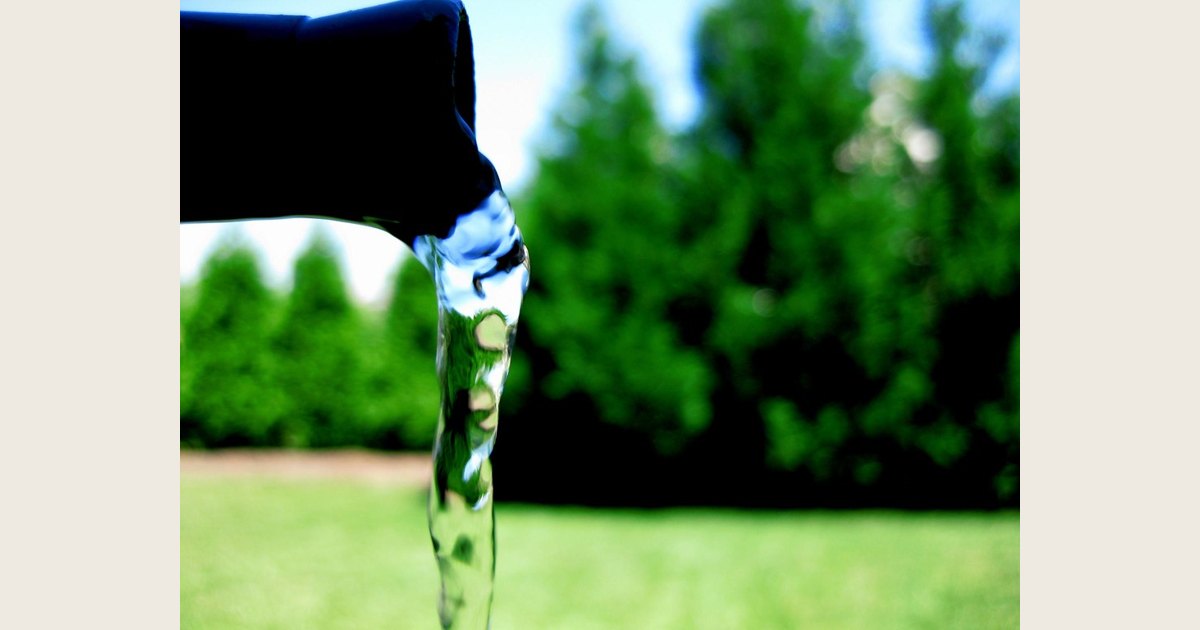
Drain a hose before gathering it up, rather than coiling water into the storage bundle.
Photo: Garden Hose by Skakerman (Archive), https://www.flickr.com/photos/27482959@N08/3555169185; https://creativecommons.org/licenses/by/2.0/. Resized and padded. Illustrative stock photo; no product testing is implied.
3. Remove twists before making the first loop
Lay the hose down and look along its length. A twist is different from an ordinary curve: the hose appears to roll over itself, or the fittings do not naturally face upward. Turn that section until it relaxes before you start coiling.
This small reset is the simplest way to prevent a storage coil from preserving a kink. If you encounter a hard kink, straighten the hose on the ground and work outward from the bend with your hands. Do not begin a new coil with the kink trapped inside it.
4. Coil it in broad, relaxed loops
Pick up the faucet end and make the first loop wide enough that the hose bends naturally. Continue making similarly sized loops, laying each one on the last without pulling it tight. The best coil is tidy enough to carry but loose enough that it does not fight you when you unroll it.
A useful check: when you set the coil down, it should stay together without a strap squeezing its sides. If it immediately springs into a tight twist, lay that section back out, remove the twist, and coil it again. Do not force the hose into a smaller circle simply to fit a storage hook.
For a very long hose, divide it into manageable loops rather than trying to make one oversized bundle. If it is heavy when drained, use a cart or reel so you are not repeatedly lifting the whole coil.
5. Put the hose in the storage location that suits your setup
Keep the hose clear of walkways and away from spots where it will sit in water. In mild weather, a covered exterior location can be convenient for frequent watering. For an extended break, a dry garage or shed keeps the hose contained and gives you a clear place to find it again.
If freezing conditions are possible, bring the drained hose into a garage or shed. The National Weather Service notes that winter storms can bring freezing precipitation across the United States and its territories, so the timing of this task depends on local weather rather than a single calendar date (National Weather Service). Check your local forecast and finish the routine before freezing weather arrives.
Choose a storage method that matches the hose
| Storage method | Best for | Main advantage | Watch for |
|---|---|---|---|
| Wall hanger | A hose used often near one faucet | Quick access and a small footprint | A hook that is too narrow can create a tight bend |
| Reel or hose cart | Longer or heavier hoses | Keeps the hose organized and easy to move | Drain the hose before winding it up |
| Loose coil on a shelf | Short hoses or seasonal storage | No hardware required | Keep it dry and off the floor |
| Storage tote | A detached, fully dry hose | Contains a hose during an off-season move or cleanup | Do not seal in moisture |
A storage method is working if you can pull the hose out without untangling it and put it back without forcing a bend. A reel is not automatically better than a hanger, and a hanger is not automatically better than a shelf. The right choice is the one that supports a gentle bend and fits how often you use the hose.
Winterize the hose and the outdoor faucet separately
The hose and the faucet connect, but they are not the same winterizing job. Storing a drained hose protects the hose from holding water during a freeze. The outdoor faucet may also need its water supply turned off and drained, depending on how the plumbing is installed. Ready.gov advises turning off and draining outdoor water spigots in addition to disconnecting and draining garden hoses (Ready.gov).
Follow the instructions for your home’s outdoor faucet and any local winterization guidance. Some homes have a shutoff valve indoors; others use a frost-free faucet or have plumbing that needs a different process. Removing the hose does not by itself confirm that the faucet is winterized.
A simple fall checklist is:
- Stop using the hose before the first expected freeze.
- Shut off the faucet and drain the hose.
- Disconnect the hose and store it in a protected place.
- Complete the outdoor-faucet steps appropriate to your plumbing.
- Leave a note or calendar reminder to inspect the hose before spring use.
Common storage problems and practical fixes
The hose keeps kinking while you coil it
Stop coiling as soon as a loop resists. Lay out the most recent section, turn it to remove the twist, and start that loop again. Tightening the coil or adding a strap will not remove a twist; it only holds the problem in place.
Water drips from the coil after you drained it
Uncoil the hose and elevate one section at a time again. Water can remain in low points, especially in a long hose or one that was coiled before draining. Let it rest straight for a moment, then repeat the lifting pass.
The hose will not fit on the hook or reel
Do not reduce the loop size until the hose is sharply bent. Use a wider hanger, split the hose into two loose bundles, or choose a reel or cart designed to hold the full length. A storage solution should fit the hose; the hose should not have to be forced to fit the solution.
The fitting leaks when you reconnect it
Check the washer inside the female coupling and inspect the threads and hose end for damage. If the issue is a worn washer, a split hose, or a damaged end fitting, use this guide on how to fix a garden hose before putting it back into regular service.
A simple routine for every season
During watering season, drain and coil the hose after use when practical, especially before a stretch of bad weather or a period when you will not need it. In fall, do the full disconnect-and-store routine before a freeze. In spring, uncoil the hose, inspect the fittings and outer cover, and reconnect it only after you are ready to use it.
The basic method stays the same: empty hose, broad loops, protected storage. It is a modest household task, but doing it consistently makes the hose easier to handle and keeps winter preparation from becoming a last-minute scramble.