A 50-foot garden hose can make patio-pot watering convenient when its route from the spigot to the farthest planter fits within reach, with enough slack to move safely. The hose length alone doesn’t tell you how much water will reach a pot: the faucet, hose condition, connections, and nozzle all affect the stream. Map the route first, start with a gentle spray, and direct water into the potting mix until it drains from the container. Then check the mix—not a fixed timer—to decide when to water again. This guide covers hose reach, simple flow-control options, watering technique, drainage, and quick troubleshooting.
Key Takeaways
- Measure the actual route to the farthest pot, including corners and obstacles; don’t rely on a straight-line distance.
- Use a low, broad spray and aim at the growing medium rather than blasting leaves or stems.
- Check the mix about an inch below the surface; when it feels dry, water thoroughly until excess drains through the pot’s holes.
- Check pots regularly. Some containers may need water every day in hot, dry weather, but that is a condition—not a schedule for every plant.
Plan the route before connecting the hose
A 50-foot length is useful only if it reaches the pots along the path you’ll actually use. Measure from the outdoor faucet to the farthest container while tracing the planned route around walls, furniture, steps, and other obstacles. Leave room to move the nozzle without pulling on the faucet or knocking into pots; a straight-line measurement across a patio can underestimate the distance needed.
For example, a hypothetical route of 12 feet to a corner, 18 feet along a wall, 9 feet around furniture, and 8 feet to the farthest pot adds up to 47 feet before allowing slack. That leaves little margin in a nominal 50-foot hose, so change the route or water source rather than stretching the hose taut. Keep it out of doorways and main walking paths. A shorter hose may be easier to handle around a close group of pots; extra length adds reach but also more hose to route and store.
Choose a flow control that suits your pots
You don’t need a particular attachment to water containers, but it helps to be able to keep the stream gentle and pause between pots. A faucet turned on only partway can reduce the flow; an adjustable nozzle or watering wand gives you more control at the hose end. Test the setting on grass or bare ground before aiming at delicate plants.
Before buying an attachment, check three things:
- Adjustable flow: Can you select a softer spray and test it on bare ground before watering?
- Shutoff within reach: Can you pause the stream at the handle between pots? Still use the faucet as the final shutoff.
- Matching connection: Does the attachment’s inlet match the hose-end fitting you already have? If you’re unsure, check the attachment maker’s fit specifications instead of assuming.
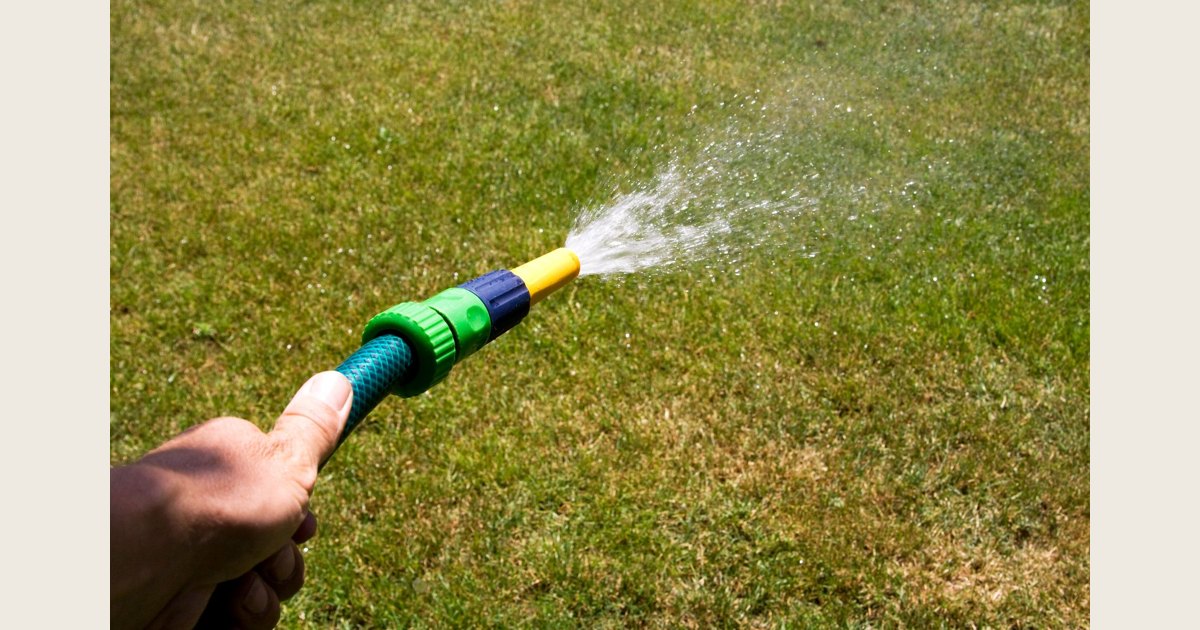
Test the spray pattern on grass or bare ground before directing it at potting mix; reduce the flow if it would disturb the mix. This stock photo shows water aimed at turf, not a pot or a verified gentle-flow setting. Photo by Valentin Ivantsov, sourced from Pexels (source image; Pexels license). Resized and padded; illustrative stock photo, not product testing.
| Setup | Useful when | Trade-off |
|---|---|---|
| Hose end with a low faucet flow | Pots are close and the stream is already gentle | You may need to return to the faucet to stop between pots |
| Adjustable spray nozzle | You want to switch patterns or pause at the handle | Spray settings differ; test the pattern before aiming at plants |
| Watering wand | Pots are crowded or set back from the patio edge | The extra length can be awkward in a tight space |
Connect the hose securely, then turn on the faucet gradually and look for leaks at the spigot, hose ends, and nozzle. If water sprays from a joint, turn the faucet off and reseat the connection; don’t force a fitting tighter. A shutoff on the nozzle can make it easier to pause while moving from pot to pot, but turn off the faucet when you’re finished rather than relying on the nozzle as the only shutoff.
Water the potting mix, not the whole patio
For each pot, use a gentle, controlled stream and apply water to the growing medium around the plant. A forceful jet can splash mix out of the container, while water aimed mainly at foliage misses the place you’re trying to moisten. University of Wisconsin–Madison Extension’s container-gardening guide recommends checking the medium below the surface, watering thoroughly until water exits the drainage holes, and avoiding wet foliage (Container Gardening (A3382)).
Use this quick routine:
- Check that the container can drain. Look for open holes at the bottom before watering. A pot without drainage is harder to water reliably; use a suitable inner pot with drainage or choose a container intended for plants.
- Start with a soft spray. Aim near the surface of the mix, not from high above the pot. If the stream moves the mix or splashes it over the rim, reduce the flow or switch to a gentler pattern.
- Water across the surface. Move around the plant so water reaches the mix in more than one spot. Avoid soaking the foliage when you can direct the stream to the soil.
- Pause if water runs off before the mix absorbs it. Give it a moment, then continue with a slower pass. The goal is to wet the growing medium, not to empty the hose quickly.
- Look for drainage. Water coming from the bottom holes shows that excess can escape. If a saucer is under the pot to protect a deck, check it after watering so runoff doesn’t sit unnoticed.
Container size and growing medium affect how often you’ll need to do this, so a 50-foot hose doesn’t set a watering interval. It simply gives you a way to reach the pots. Use the same gentle pattern for small pots and larger planters, but spend time checking each one rather than assuming they all need the same amount.
Check moisture and adjust to the weather
Check container plants regularly and water when the growing medium needs it. Wisconsin Extension advises checking about an inch below the surface and watering when the medium feels dry. University of Maryland Extension notes that some containers may need watering every day during hot, dry weather, while stressing the importance of easy access to water (Growing Vegetables in Containers, updated March 23, 2026). Treat daily watering as a possibility in those conditions, not a universal rule. Small containers and some growing mixes dry faster, and brick or concrete can create warmer conditions around a patio container. Maryland Extension also notes that runoff may mark or stain concrete and wood decking, so a saucer can help protect the surface; empty it as appropriate for the plant. Where drainage reaches paving, notice where it flows and move or catch it if it creates a mess or hazard. Follow plant-specific care guidance if it calls for a different moisture level.
Troubleshoot before you change the watering routine
The spray pattern is too narrow or forceful. Change the nozzle setting or reduce the faucet flow, then test the pattern on bare ground before watering a pot. A narrow pattern by itself does not mean the hose has low flow.
The water flow is weak or uneven. Check that the faucet is open, the hose isn’t kinked beneath a pot or around a corner, and the connections aren’t leaking. If the flow remains weak, compare the faucet’s flow with the hose-end flow using the same brief check; a difference points toward something along the hose route or at its connections, while similarly weak flow at both points suggests checking the water source.
The potting mix stays dry. Make sure the stream is reaching the mix, not just leaves or the rim. Apply water in slower passes and check below the surface again. UW–Madison Extension notes that very dry soilless mixes can be difficult to re-wet, so avoid trying to compensate with a hard blast; use the growing-medium or plant-care instructions if the mix continues to repel water.
Water pools around the pot. Stop and check whether the drainage holes are open and whether the container is sitting flat against a surface that blocks them. Elevating a pot slightly can help its holes drain, but only use a stable base that won’t tip. If runoff is damaging the patio, place a suitable saucer underneath and empty it as appropriate for the plant.
A connector leaks. Turn off the faucet, then inspect and reseat the connection. If a hose end is cracked or damaged, don’t keep tightening it; use a compatible repair or replacement part. See our guide to fixing a leaking or damaged garden hose.
A simple end-of-watering check
Before putting the hose away, confirm that each pot was checked individually, the mix is moist where the roots grow, and water can drain from the container. Turn off the faucet, release any remaining water from the nozzle as directed by its instructions, and route the hose out of walkways. If you need a storage routine after watering, see our guide to storing a garden hose.
A 50-foot garden hose works well for patio pots when the route is measured, the stream is controllable, and each container’s moisture and drainage guide your decisions. Check regularly, adjust for hot or dry weather, and avoid watering by the calendar alone.
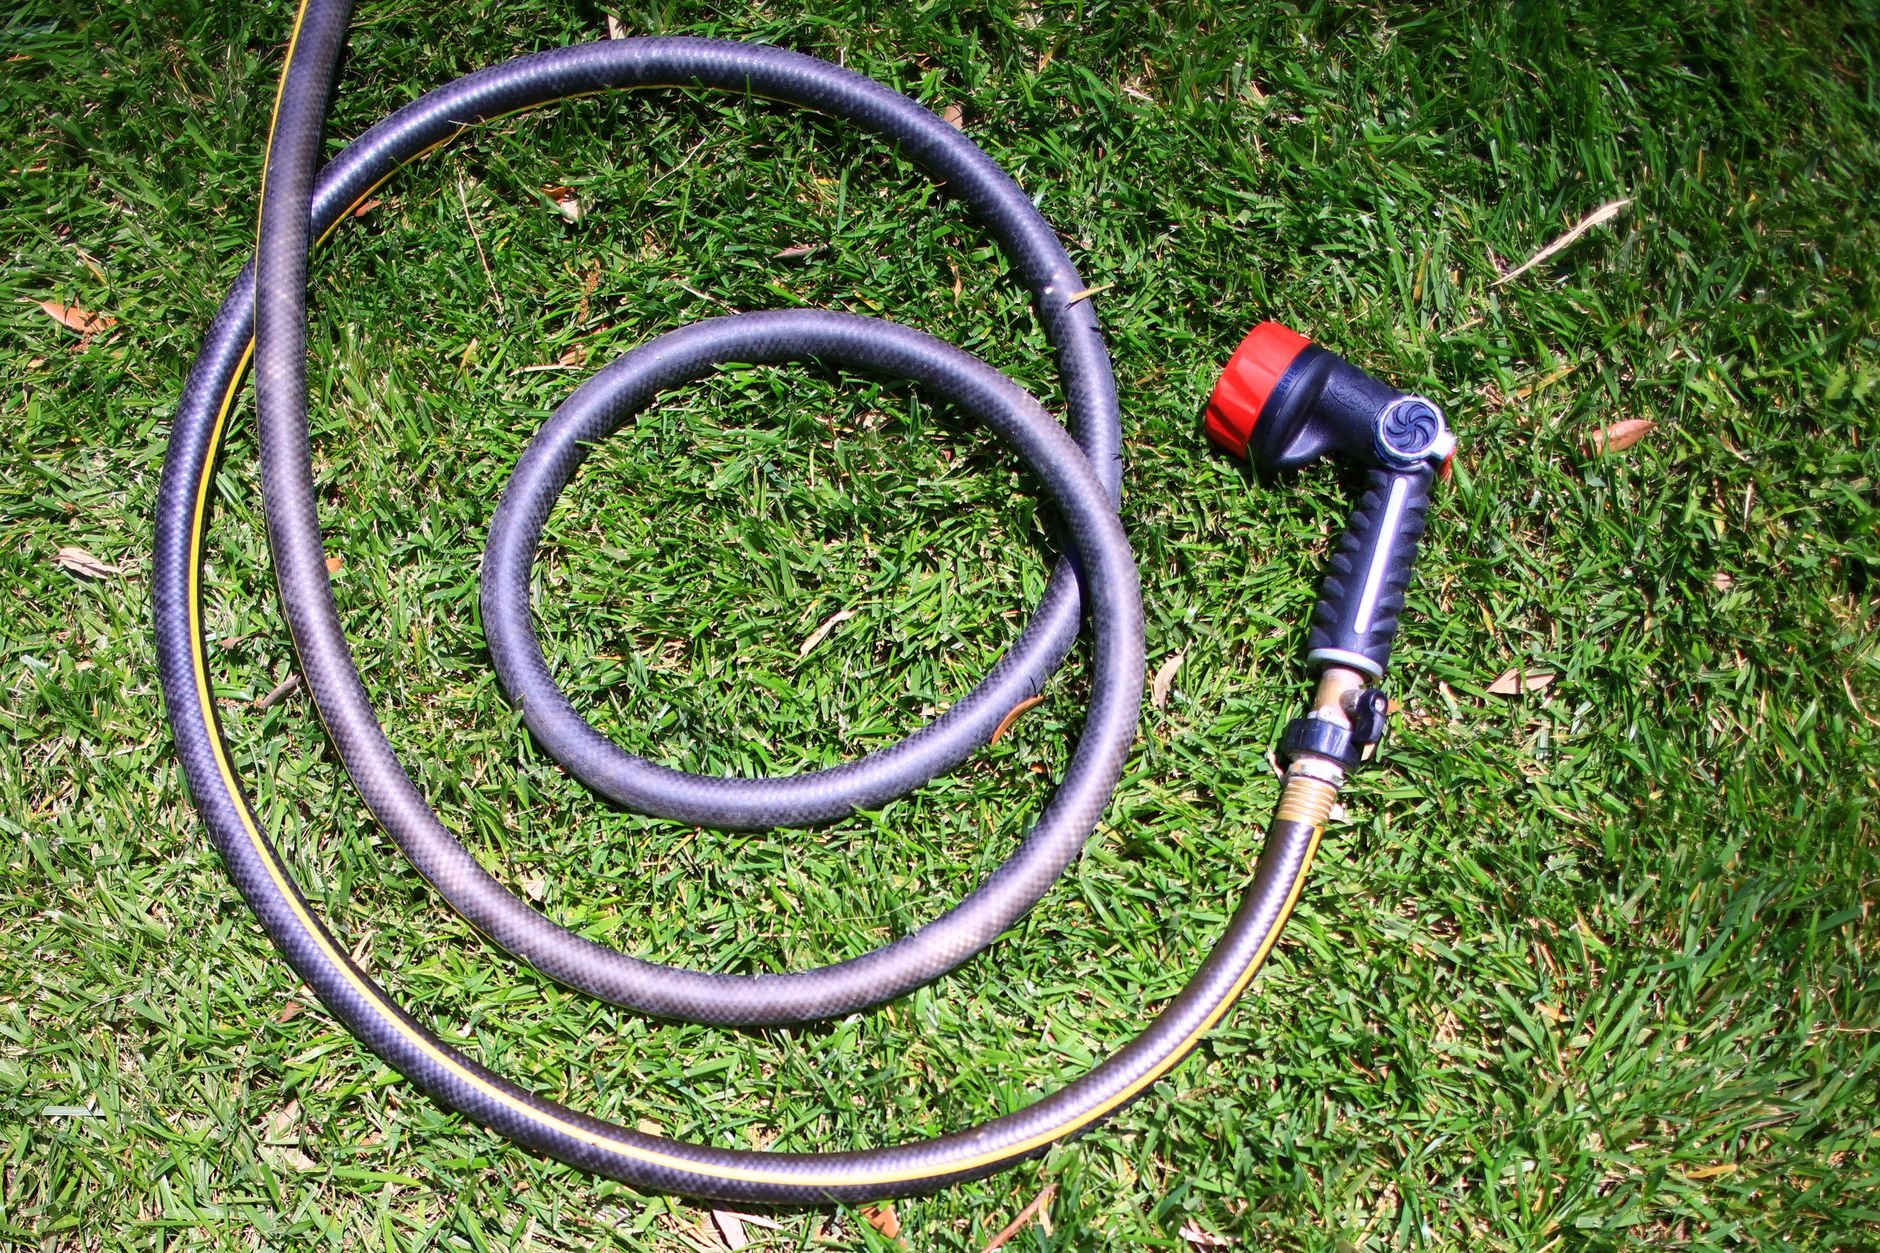
Featured image credit: Curled garden hose on lush green grass, shot from above in bright daylight, by David Brown, sourced from Pexels (source image; Pexels license). Resized and padded. Illustrative stock photo; no product testing is implied.